
Set up Discord notifications
Discord receives messages through a webhook on one of its channels. Scanfully posts every alert of the notification to that webhook.
Create a Discord webhook
Section titled “Create a Discord webhook”You need permission to manage webhooks on the Discord server. Discord’s own help explains this in detail; in short:
-
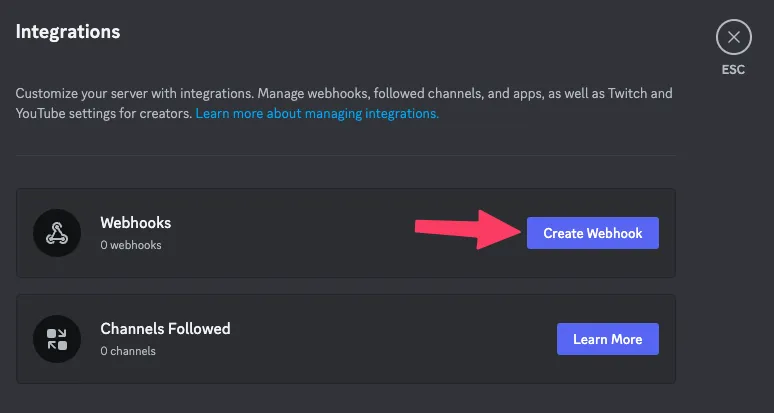
In Discord, open Server Settings and choose Integrations.
-
Click Create Webhook (or New Webhook when the server already has one).
-
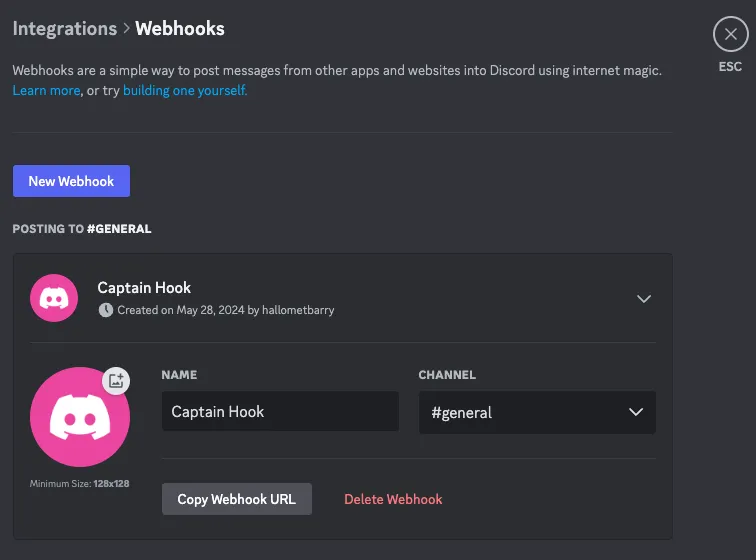
Give the webhook a name, such as Scanfully, and choose the channel it posts to.
-
Click Copy Webhook URL.
Add the webhook to Scanfully
Section titled “Add the webhook to Scanfully”- Go to Notifications and open the notification, or click New notification.
- Under 2. Where it goes, click Discord under Add another.
- Paste the URL into Discord webhook URL. It starts with https://discord.com/api/webhooks/.
- Click Save notification.
To check that messages arrive in Discord, click Send a test in the editor or on the Notifications screen. During the trial, a test only goes to a webhook that is already saved, so save first.
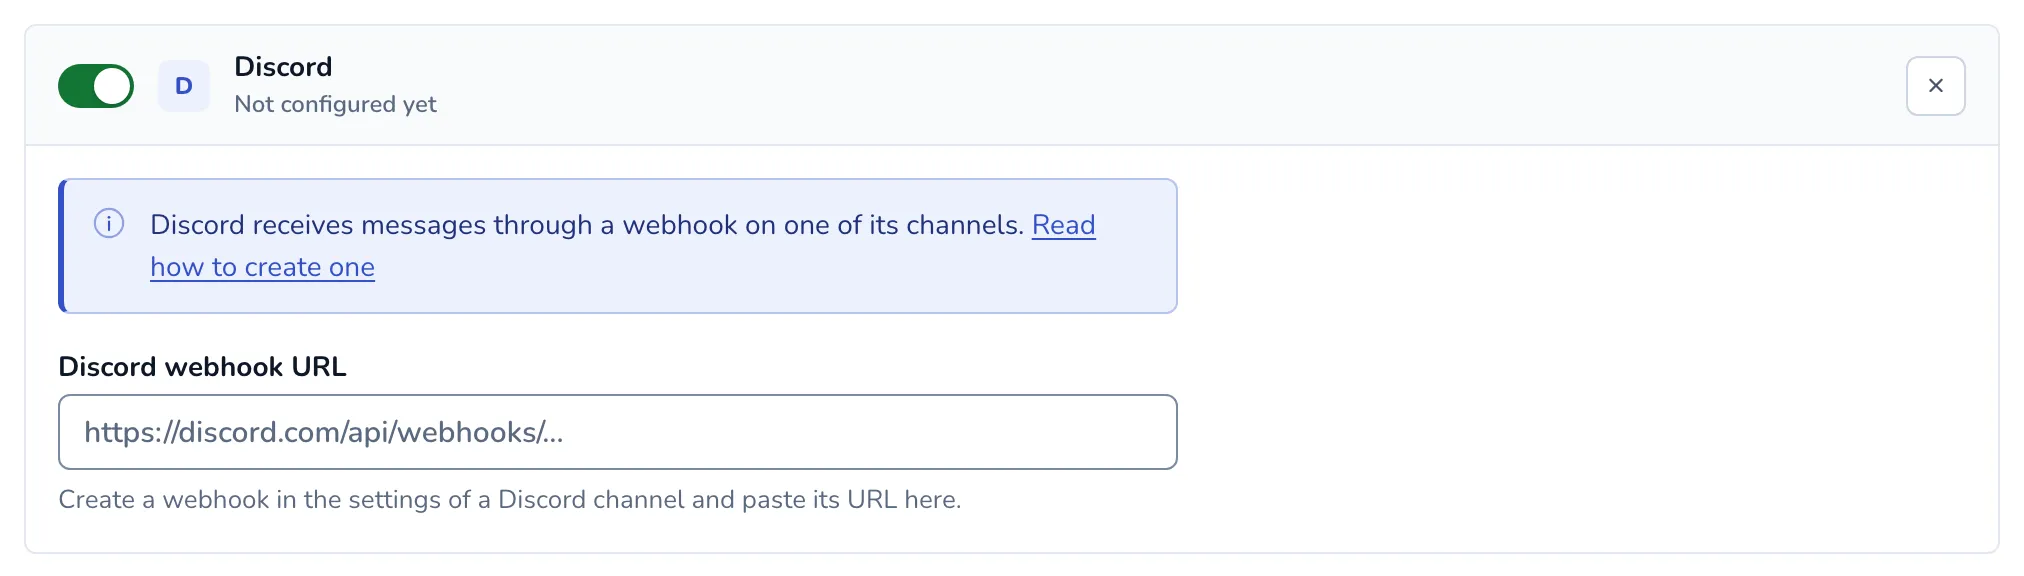
After you save, the webhook URL is never shown again; the field says “Saved, ends in” and its last four characters. To change it, type a new URL. To post to several Discord channels, add one Discord card per webhook.
What the messages look like
Section titled “What the messages look like”Each alert is posted with a colour for how urgent it is, and a Snooze field with links to snooze the site (see Snooze alerts).
When messages stop arriving
Section titled “When messages stop arriving”When Discord refuses a message, for example because the webhook was deleted, the card shows Failing with Discord’s answer, and your account email gets a notice at most once a day. Create a new webhook and paste its URL to fix it.