
Connect your website to Scanfully
The Scanfully WordPress plugin is the link between your WordPress site and your Scanfully account. Once it is connected, it sends Scanfully the site health report, the installed plugins and themes, and WordPress activity such as updates and saved content.
You connect the plugin once per site. You can start from the Scanfully dashboard (see Add a site) or straight from WordPress, as described here. Both end on the same approval screen in Scanfully.
Install the plugin
Section titled “Install the plugin”- In WordPress, go to Plugins > Add New Plugin and search for Scanfully.
- Install and activate the plugin.
Only WordPress users who can manage the site’s settings (administrators) can connect it.
Connect it to your account
Section titled “Connect it to your account”- After activating, WordPress shows a Welcome to Scanfully! notice. Click Finish setting up Scanfully, or go to Settings > Scanfully.
- Click Connect your Scanfully account. WordPress sends you to Scanfully.
- If you are not signed in to Scanfully, sign in, or create an account first. You come back to the connection screen afterwards.
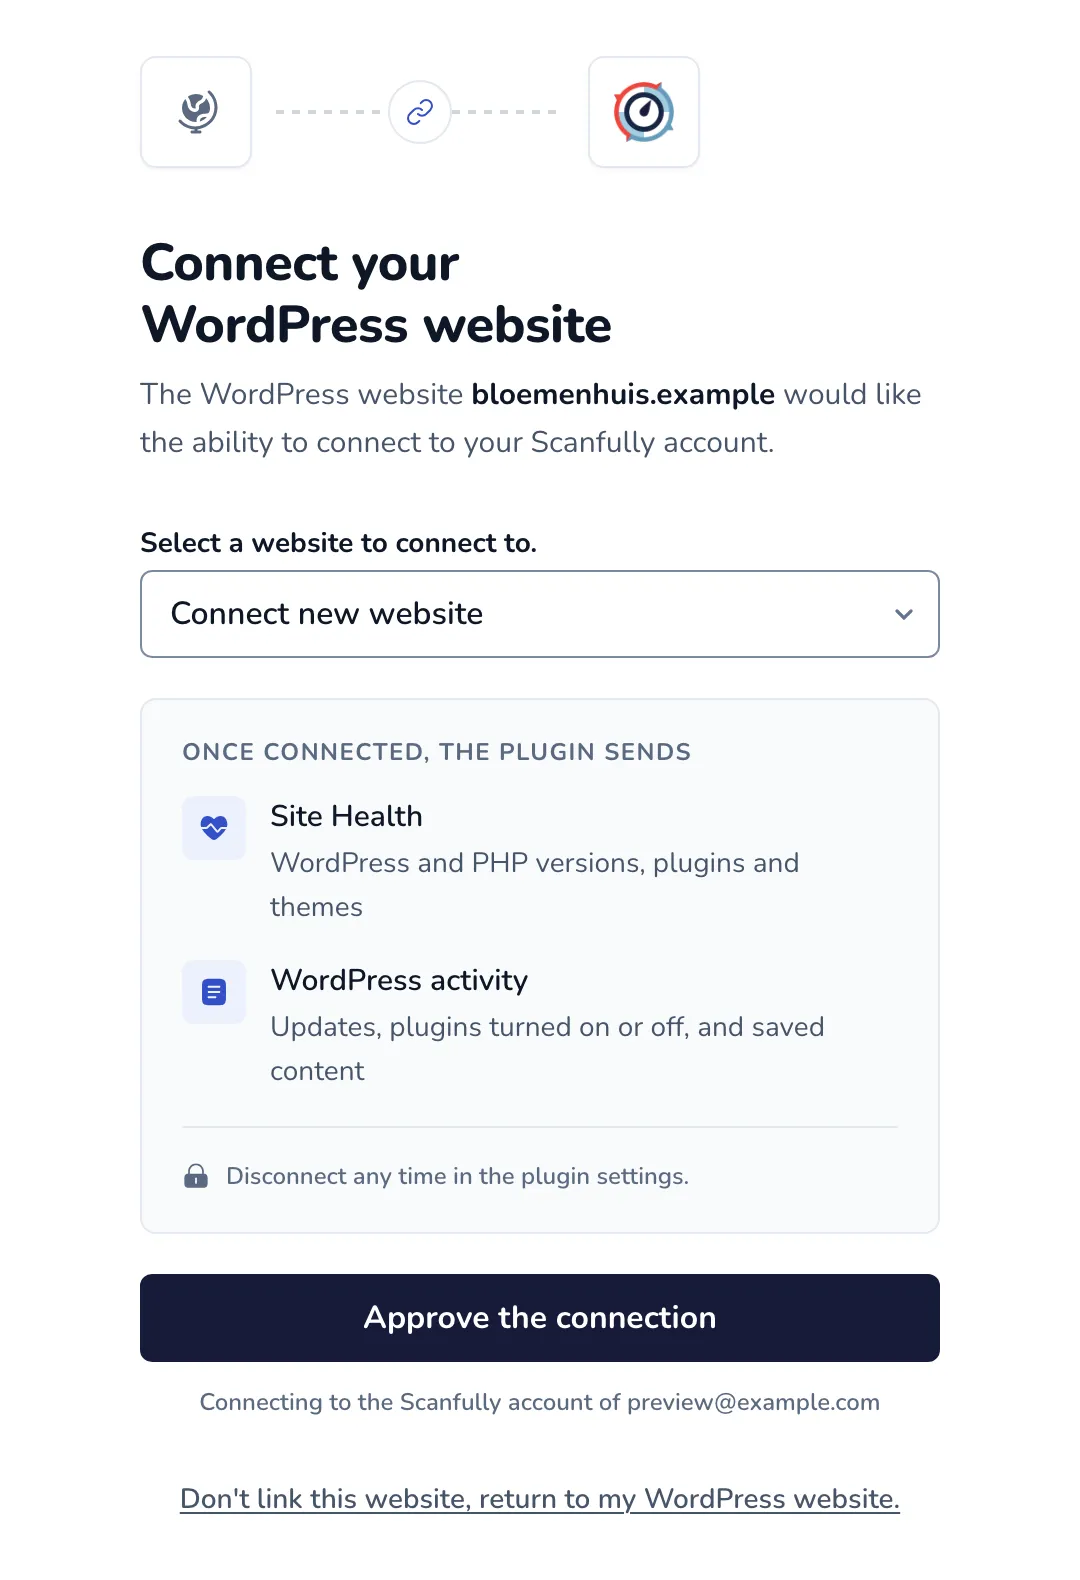
- On Connect your WordPress website, check the site under Select a website to connect to. (see below).
- Click Approve the connection.
Scanfully sends you back to WordPress, which shows Successfully connected to Scanfully. The plugin’s settings page now shows Connected as the connection status, with Last used and Date connected. The Scanfully Dashboard button opens the site in Scanfully.
The site’s first health report can take a few minutes to arrive.
Choose the site to connect
Section titled “Choose the site to connect”The screen names the WordPress site that asked to connect and the Scanfully account you are connecting it to. When your account already has sites, Select a website to connect to. lets you choose:
- Connect new website adds the WordPress site to your account as a new site. This is the choice when Scanfully does not monitor the site yet.
- One of your existing sites connects the plugin to that site, for example a site you added by URL only. When your account already has a site with the same domain, Scanfully selects it for you.
You can only connect the plugin to the site it was installed on. If you pick another site, Scanfully shows This is not the site that asked to connect: pick the matching site, or connect it as a new site.
If adding the site changes what you pay, Scanfully shows the charge and asks you to confirm it first. See Billing.
When Scanfully cannot add the site
Section titled “When Scanfully cannot add the site”When your account has no room for another site, the screen explains why instead:
- You’ve reached your site limit: a trial account monitors one site. Click Upgrade to Pro.
- Your trial has ended: upgrade your account to connect the site.
- Monitoring is paused: a payment is overdue. Click Go to billing and pay it.
These buttons open in a new tab. When your account is ready, come back and reload the connection screen to connect the site. Return to my website takes you back to WordPress without connecting.
If the site that asked is already in your account, you can still connect the plugin to it.
Cancel the connection
Section titled “Cancel the connection”Click Don’t link this website, return to my WordPress website. under the approval button. WordPress shows Access denied and the plugin stays unconnected.
Reconnect the plugin
Section titled “Reconnect the plugin”When the plugin has not been in touch with Scanfully for more than 2 days, or renewing its connection keeps failing, WordPress shows a Scanfully connection issue notice to administrators, with the reason when it is known. Click Reconnect to Scanfully and approve the connection again.
Disconnect the plugin
Section titled “Disconnect the plugin”On Settings > Scanfully in WordPress, click Disconnect account. The plugin removes its connection and stops sending data. The site stays in your Scanfully account, with its uptime and other outside checks, until you remove it with Disconnect site in its settings.
Sites that do not run WordPress
Section titled “Sites that do not run WordPress”The plugin only works on WordPress. To monitor any other site, add it in the dashboard with Add by URL only. See Add a site. Site health, the plugin list, WordPress activity and email deliverability are not available for those sites.